It feels a bit like the world is in a big mess at the moment, with all this COVID-19 strangeness, isolation and fear. I’ve been feeling a bit useless. Unsurprisingly, jeweller does not in any of the “key worker” occupations. And I wanted to be able to do something that might be a bit useful. As school is out for most children in the UK, the first thing that came to mind was creating a tutorial for kids to make their own bracelets using supplies you’ll hopefully have lying around, or can easily get access to. (Fear not. There’s no use of precious items such as loo rolls or dried pasta!)
Supplies needed:
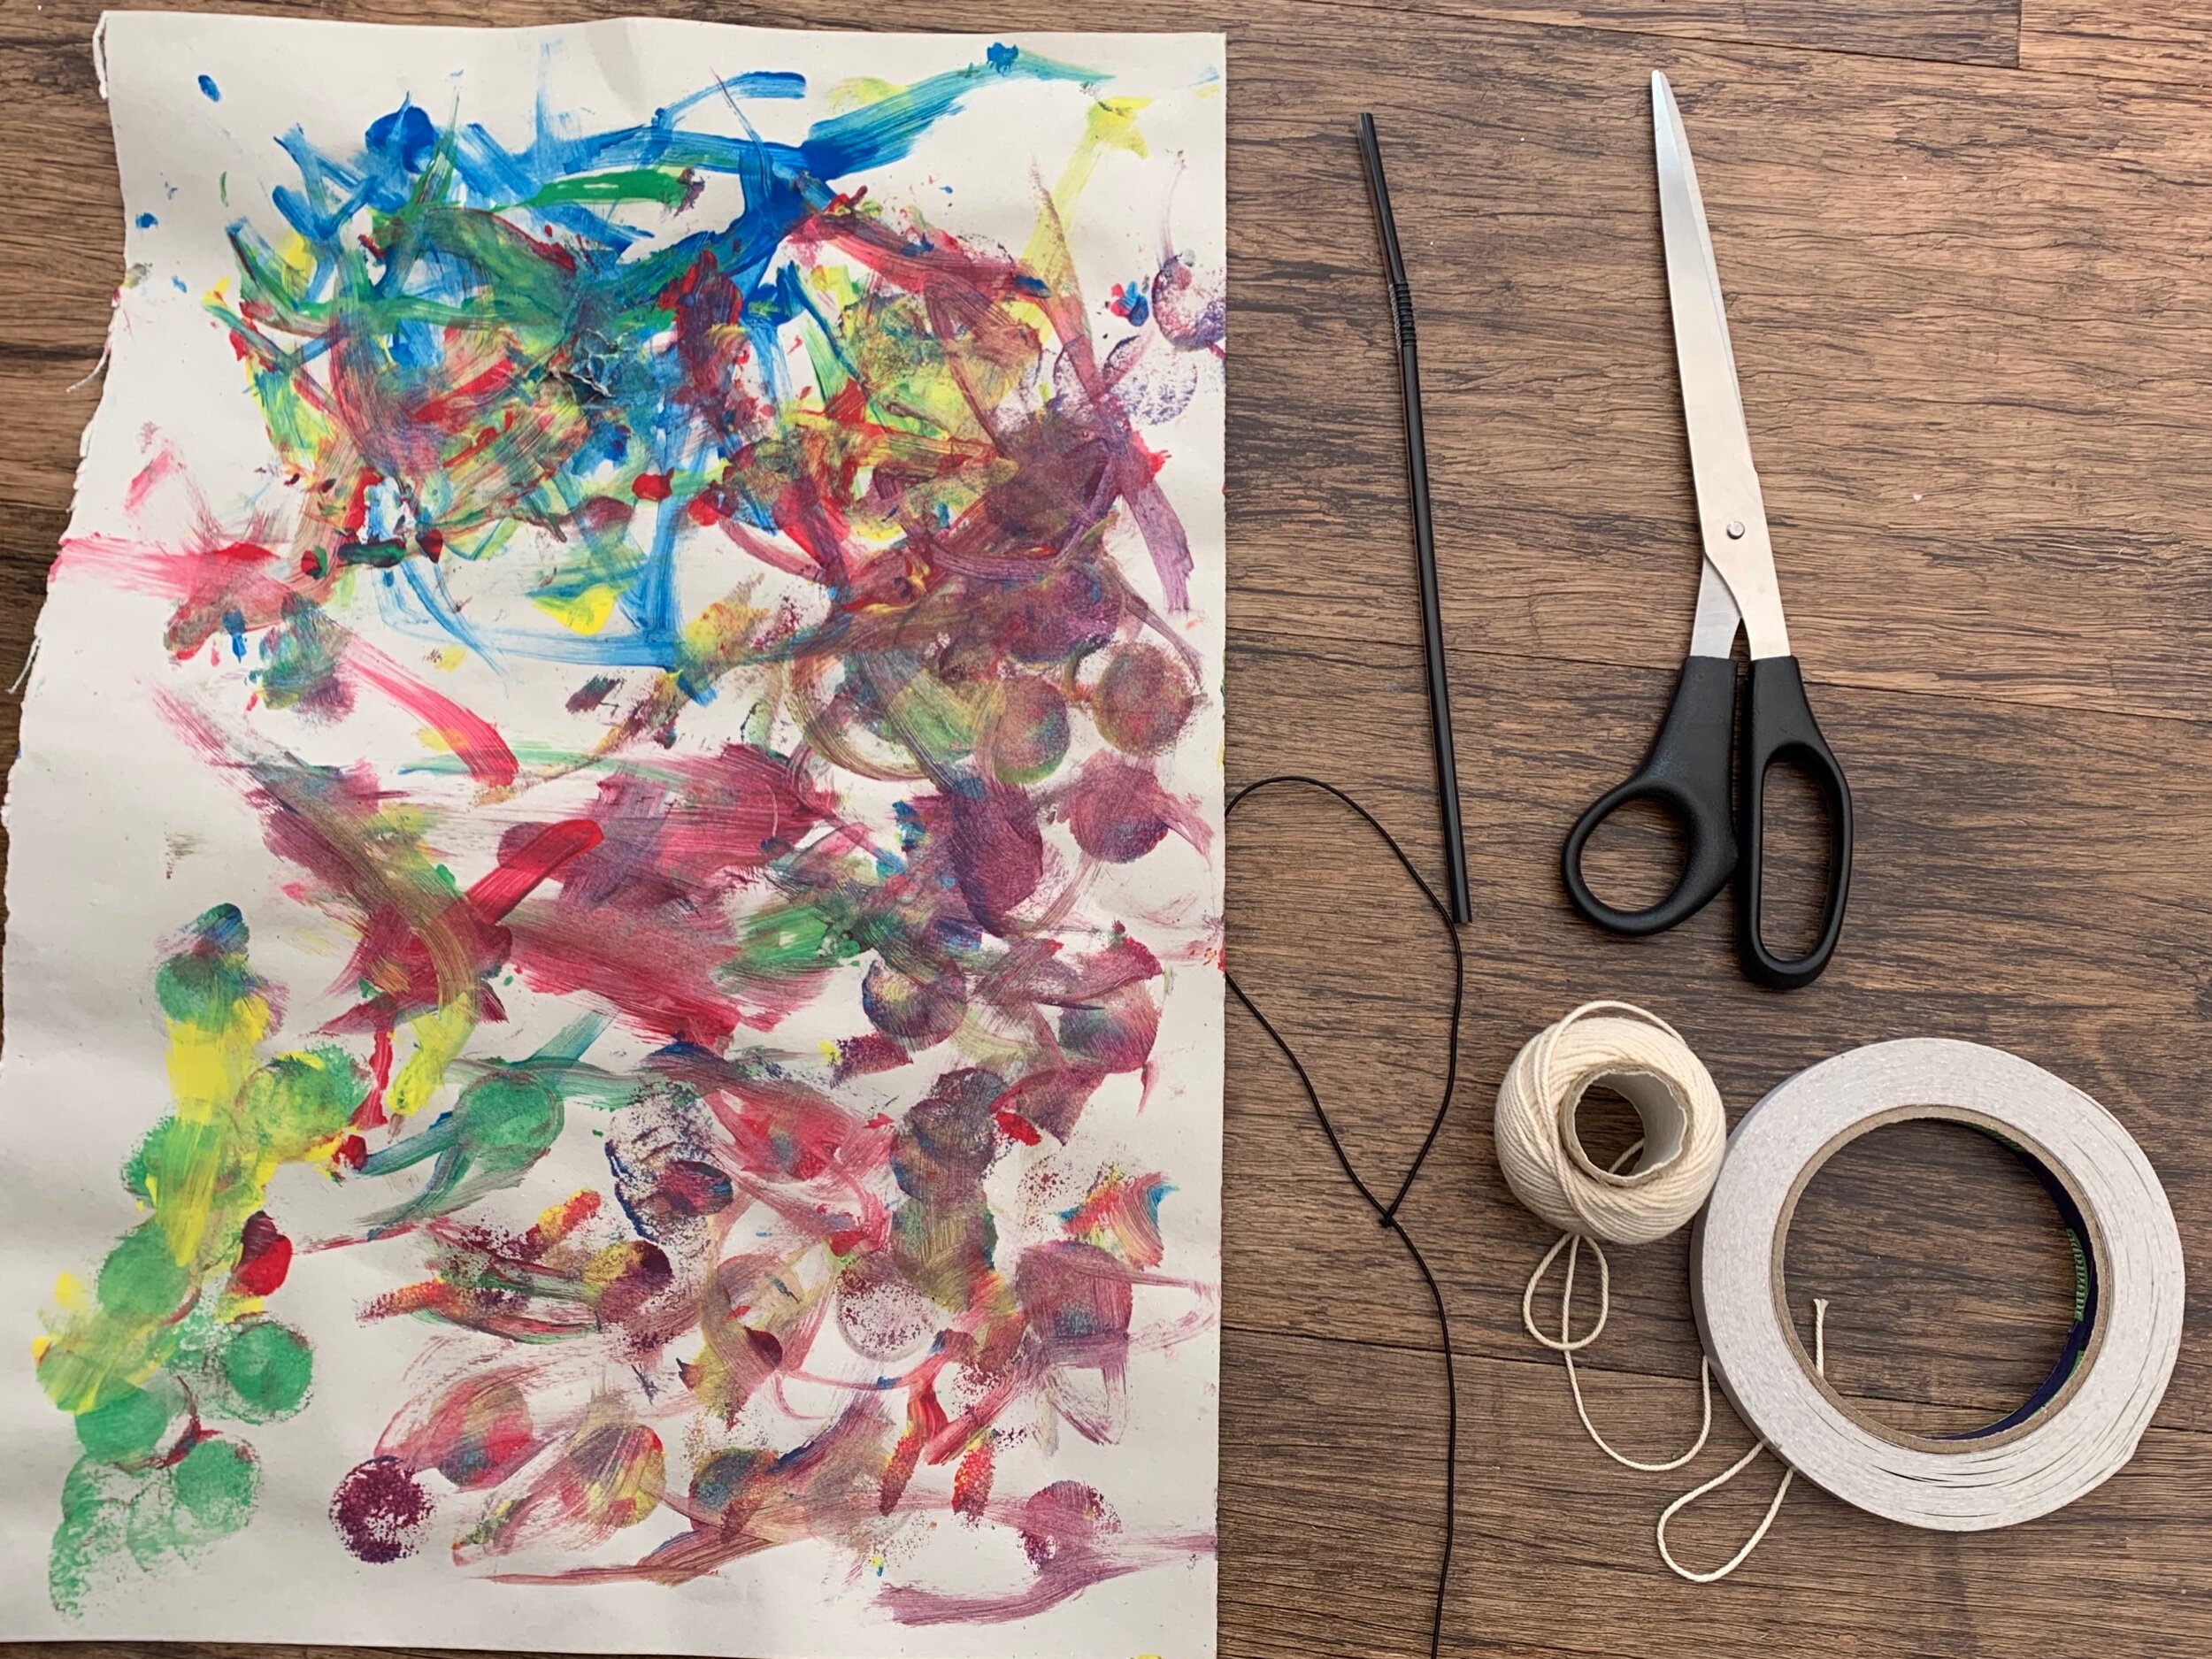
Colourful paper, or washi tape
A drinking straw
Scissors
Double sided tape
String/wool
Optional supplies:
Thin elastic cord. This is preferable to string or wool for a bracelet
Sticky tape
Instructions
Paint or colour in part of a piece of paper. The more colourful the better, with closely packed changes in colour pattern. This works best. The alternative is to use some washi tape, but I think you’ll get the most interesting results with something you’ve painted or coloured in yourself. Plus it gives you another activity to keep bored children entertained.
Stick a strip of double sided tape on the back of the paper, making sure a highly patterned area of the paper. I used 12 mm wide double sided tape.

Cut close to the edge of the tape on both sides. Then cut the strip in half lengthwise. I had two strips that were each about 6 mm wide. Depending on the age of the child, you may need to help/closely supervise/do this for them.

Start to peel a small section of the double sided tape’s backing away.

Attach the end of the paper to the end of the straw placing it at an angle, as shown in the photo.

Slowly spiral the coloured paper around the straw, sticking it down and peeling off the backing from the tape as you go. Aim to get the edges of the paper to line up, or closely meet up with each other.

Keep sticking down the spiraled paper until you reach the end of the strip.

Repeat with the next piece of paper, starting to stick it down where the previous piece ended. I needed about 18cm of straw to make a bracelet to fit me, using elastic cord. Measure around your wrist with a piece of string or tape measure loosely held around the wrist. If you’re using string, measure around your hand with your thumb tucked in. You might want a longer length of paper covered straw for a necklace, but you could just have beads at the bottom of the necklace and uncovered string for the rest of it.

Optional step - if you want the bracelet to last a bit longer, cover the paper on the straw with clear sticky tape. Make sure it’s well stuck down.

Cut the straw into small sections. These will be your “beads”. I cut mine into approximately 1 cm long sections. You could cut a mixture of different lengths, but for a bracelet I’d probably keep to around a 2 cm maximum length. You could go slightly longer for a necklace. Longer beads will give a more angular look to the necklace, shorter beads will mean it hangs in a more of a curved shape.

Some of the holes in my beads sealed themselves up when I cut them. Give the beads a gentle squeeze to open them up again.

Thread your beads onto a length of string, wool or elastic. Elastic will be best for a bracelet as you’ll be more easily able to get it off and on. String or wool will be fine for a necklace. Just make sure it’s long enough to go over your head.

Tie the ends of the string or elastic together. Make sure the knot is tightly tied.

Cut the excess string or elastic off, but leave about 1 cm a the end

Wear with pride and share your creations on social media!
